Our kids are 2, 5, 8, and 10 years old, and we love to find ways to involve them in travel preparation. At every age this looks a bit different, so we have developed systems that make sense at every stage.
Draw a Travel Plan and Talk About Travel Day Details
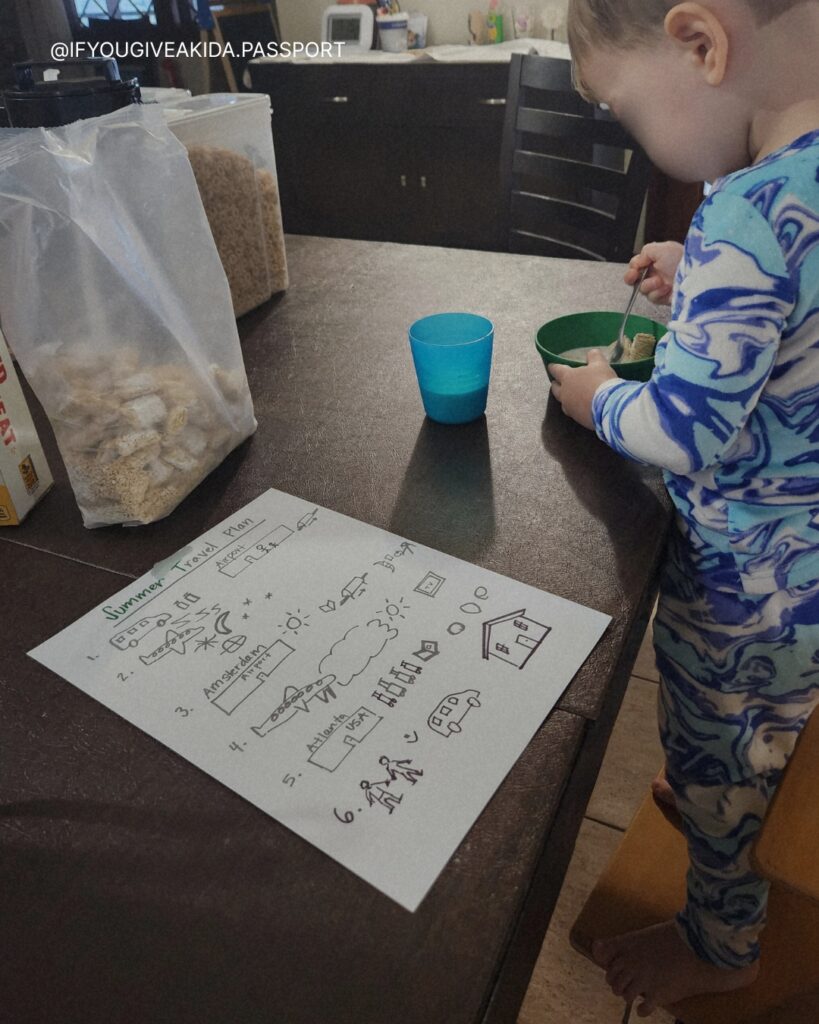
This works especially well for kids aged 2 to 6. We sit down and draw a detailed travel day plan that covers any part of the journey I think may be tough for them. It truly cuts down on the “but you never told me…” moments. We focus on drawing each step: getting to the airport, waiting for the airplane, when they will have screen time and when they won’t. Setting expectations and letting them imagine the travel day in advance has led to so much success and far fewer breakdowns.
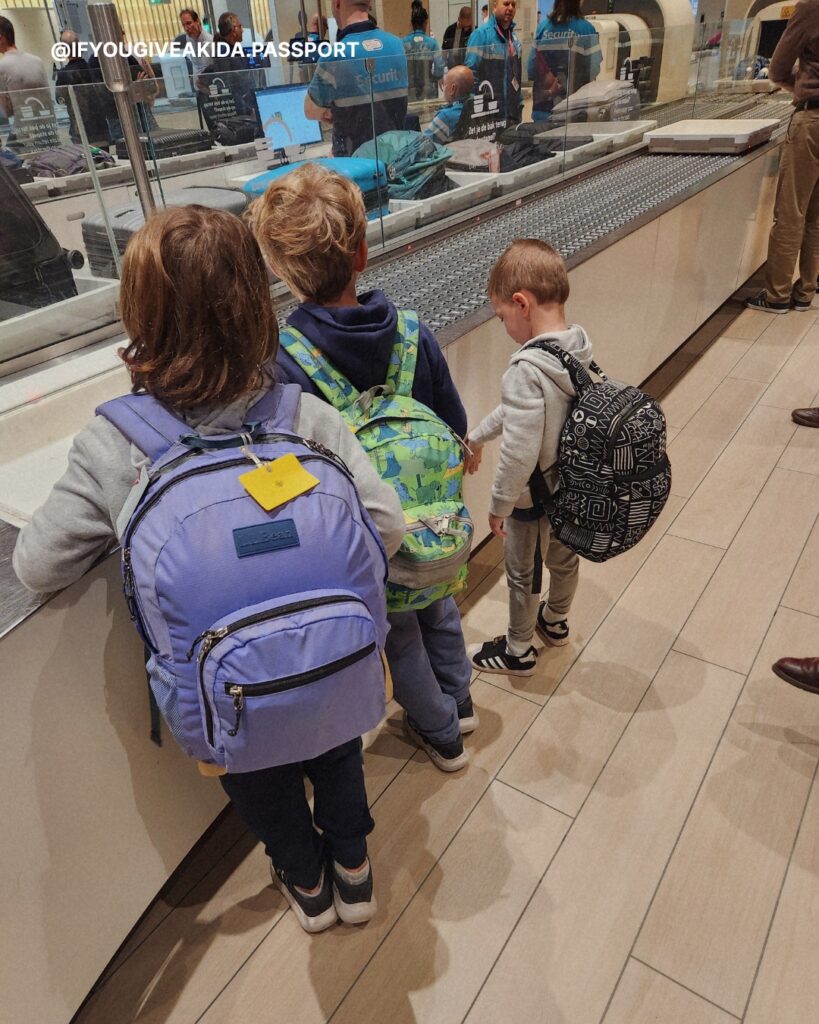
Remember to include things that may be obvious to you but might be brand new for them. A great example is the airport x-ray machine during security screening. I distinctly remember the moment our first-born had to hand over his favorite backpack to a stranger and watch it disappear into a black hole. It was instant panic despite our desperate explanation. From then on, with each of our kids, we talk about the x-ray machine, include it in our travel drawing, and have them practice handing over their bag (and getting it right back) in advance.
Practice the Hard Parts
We do not just talk about the tricky moments. We act them out.
The x-ray machine is the classic example in our house. Before a trip, we set up a little security line in the living room. One kid plays the TSA agent, the others practice handing over their bags, and waiting calmly on the other side. It sounds silly, but it works, especially when you can remind them while at the actual airport about how this is the same as how you practiced. For them, now it is not new. It is not scary.
You can do the same thing with any part of travel that tends to go sideways for your kids. Waiting in a long line. Sitting still on a plane. Ordering food in a restaurant where they do not speak the language. Practice does not have to be elaborate. It just has to make the unfamiliar feel a little more familiar before you get there.
Make Them a Map or Calendar
This is another way to help kids visualize and prepare for travel. Depending on your plans, this might look a little different.
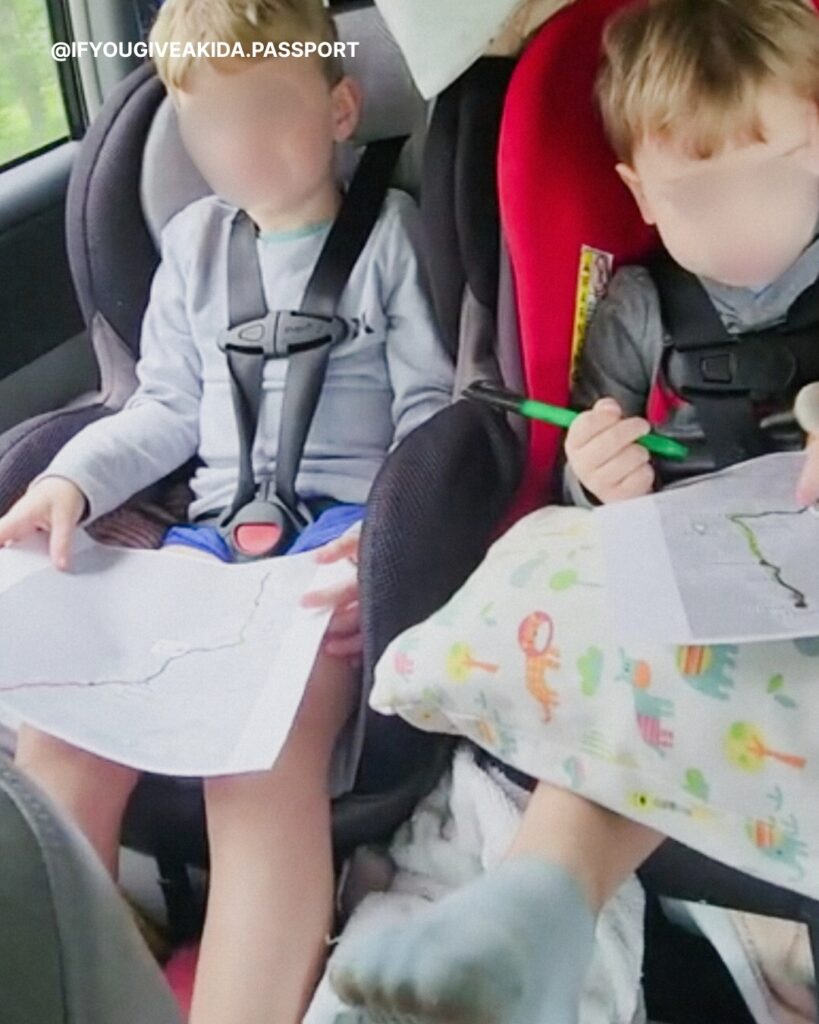
For a road trip, we print out a simple Google map to show them the route. It doubles as a geography lesson and a prep tool. The kids each get a clipboard in the car, and the map is one of the papers they can reference as we go. They know in advance how long the travel days will be, and they can follow along on the map. Each time they ask “are we there yet,” we point out exactly where we are and make an activity out of the trip itself.
For a trip with multiple destinations, we make a simple calendar showing each day and the location where we will be. We let them keep it throughout the trip as a reference for what comes next. It is not a detailed itinerary, just an overview of where we will be. If there is a surprise or unknown portion of the trip, we include a note that we are not sure what we are doing that day, so they stay open to a change or unexpected adventure.
Include Them in Planning
As the kids get older, we involve them more in the actual planning and make sure there is something everyone is looking forward to. It helps them start to understand travel budgets and how decisions get made. Sometimes this looks like having them help pick the destination entirely. Sometimes it means helping decide which places to visit within a city we are already going to.
Watching them enjoy and share an activity they chose is priceless.
Everyone Packs Their Own Clothes (Cue the Packing List)
Kids pack their own clothes, but we guide them with a packing list that shows the number of each item needed. We use a visual checklist so that kids can start this process independently by around age three. It also turns the whole thing into something like a clothing scavenger hunt around the house, and we find all of our kids actually enjoy this part.
Each person then puts their items in a packing cube so they can be responsible for their clothes throughout the trip.
On our last ski trip, my husband even used a copy of the kids’ list to guide his own packing. We are calling that a win.
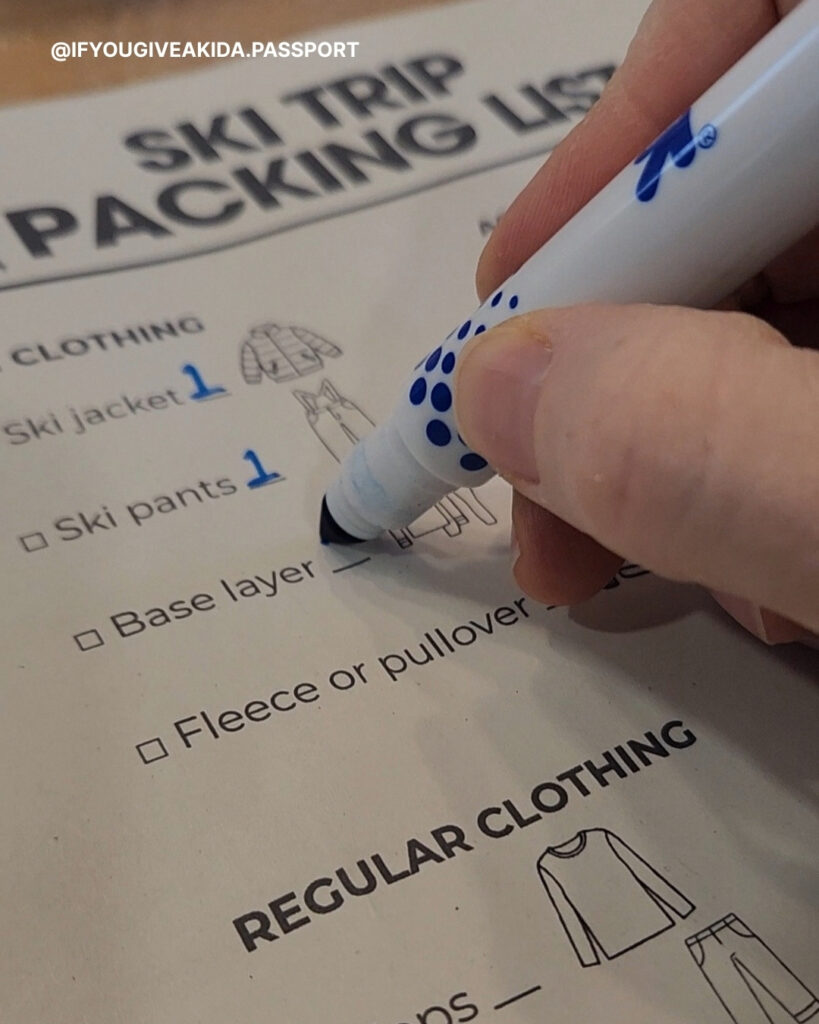
Grab our free visual packing list template for a ski trip here:
Everyone Has a Non-Clothes Packing and Carrying Responsibility
We give each kid a dedicated space for non-clothing items they get to choose themselves. Backpacks, or another bag of their choice, where they are responsible for a book, small toy, headphones, or whatever they want and are willing to carry. This varies depending on the type of trip (airplane vs. road trip), but the premise stays the same: they pack a few extras and are responsible for lugging those items around.
For younger kids we guide them toward very few, very light items, or a backpack that can clip onto another suitcase in case they need a hand along the way.
Everyone Gets a Favorite Snack
We try to buy most snacks at the destination, but for travel days, we make sure everyone has something they actually want to eat on the go. Each kid gets to pick out a favorite snack to bring and eat as we go. Trust me, it takes the guesswork out of it, because we all know what it is like when mom picks the wrong snack.
The Whole Point
None of this is about perfect travel days. It is about kids who feel like they know what is going to happen on travel days, and beyond.
When they know what is coming, helped pick the destination, packed their own bag, and practiced the hard parts at home, they can own the trip as their own.
And the more they know what’s coming, especially the hard part, the more they can prepare.
The last thing you need when traveling is stressed out kids surprised that your journey had two flights, not just one.
If you find this guide helpful, consider booking your hotel or attraction tickets through my affiliate links. I will earn a small commission at no extra cost to you. This is how I keep this blog running free of charge.